
|
|
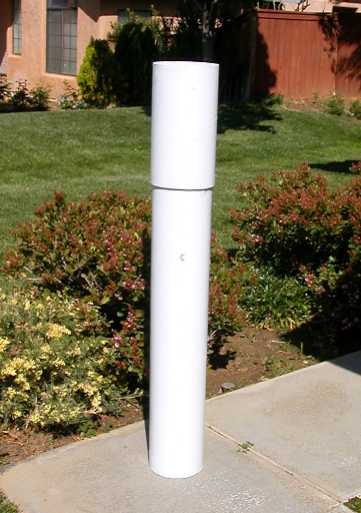
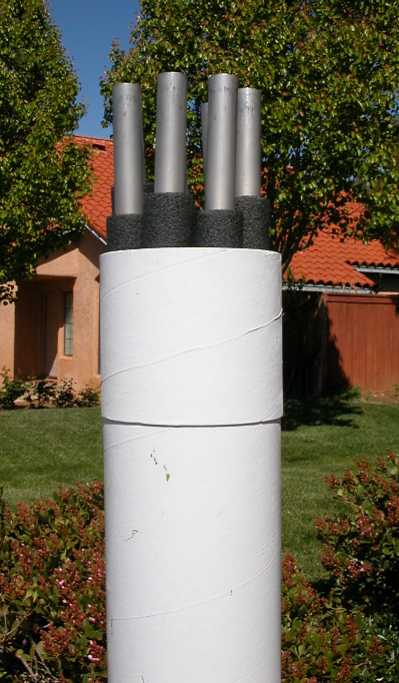
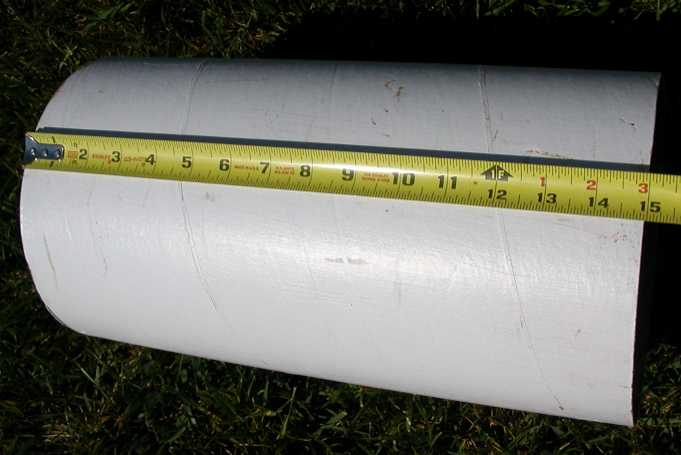
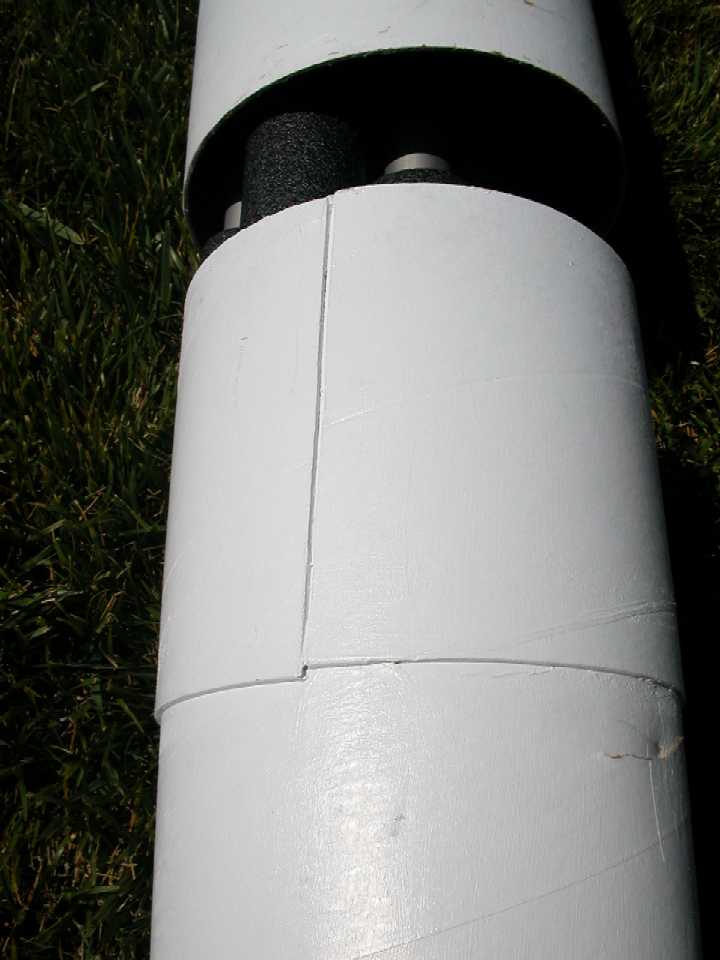
Making a Rigid Truss Tube ContainerWhy? I have an 18" truss tube telescope... Because tossing all of the tubes in the back lets them scrape up against the telescope and besides, they get all banged up themselves. Sounds good, but the real reason I made this container is that I once showed up at a distant star party with just 7 truss tubes. Two hours and 100 miles later, I was BACK at the star party with the 8th truss tube...A rigid container was something I had seen at RTMC one year. It seemed simple to make out of Ssonotube. I saw some 8" Sonotube (used for pouring concrete support columns) at Home Depot that was actually in two sizes, 8" and 8 1/4". The pieces slipped nicely over one another, so I bought a 6 ft section of the 8" tube and 2 ft of the 8 1/4" tube.
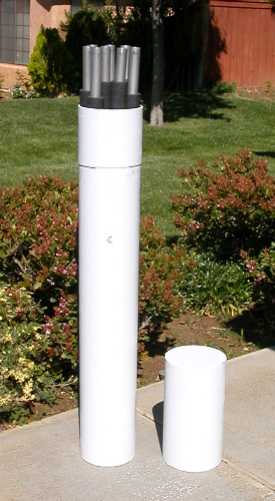
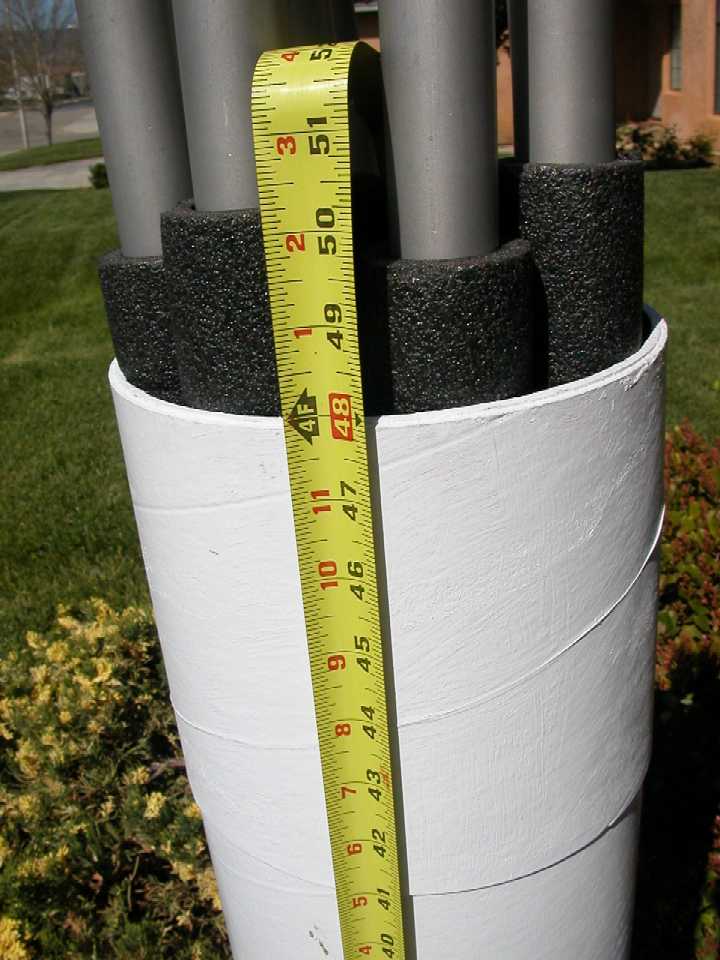
Making the cutsI measured the truss tubes at about 5 ft in length. I then cut a 4 ft section of the 8" tube, and then a 15 inch piece off of the 8 1/4" tube for the top of the container.
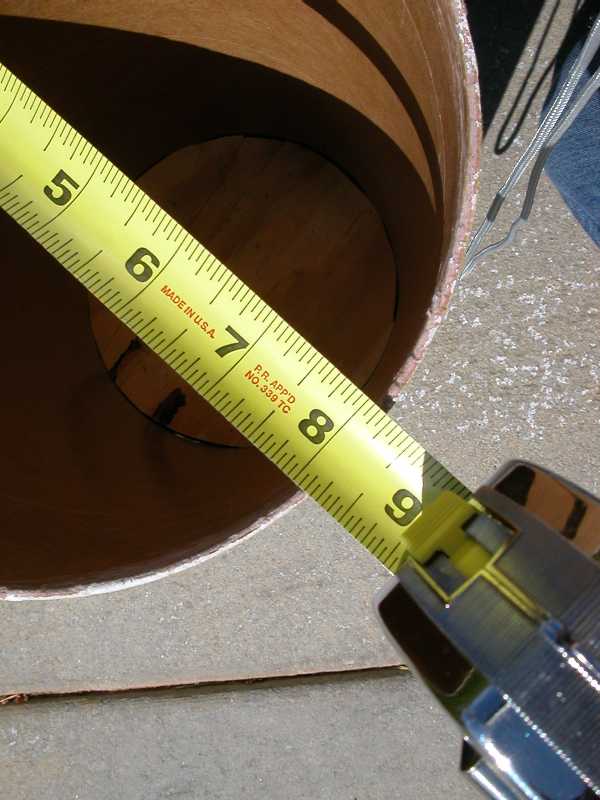
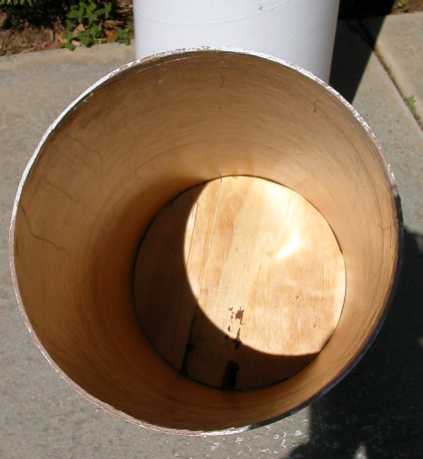
Place the left over and short piece of each size of tube onto a piece of 1/2 inch plywood and used a pencil to draw along the inside of the tube for the end plugs. I used a jigsaw to carefully cut out the circles, and then sanded them to fit snugly in the end of each sized tube. I pre-drilled and then used four 1/16" x 1/2" wood screws to secure each plywood end plug, making sure that they were flush with the end of the tubes.
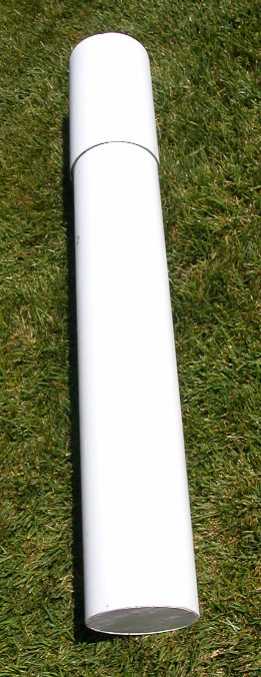
PaintingPaint the entire tube and end cap to your liking. You're all finished!
11/2011 |
|